
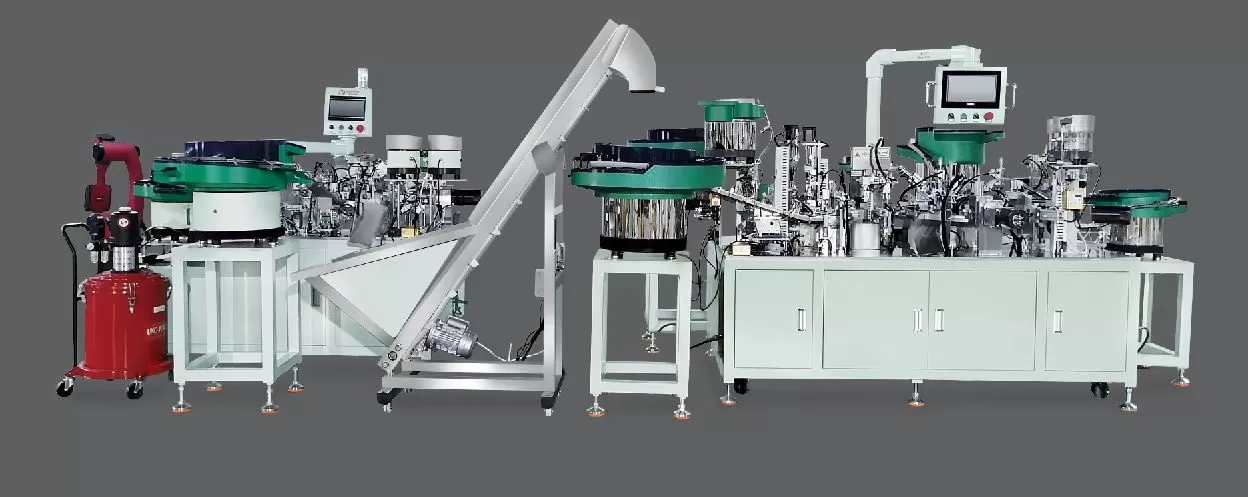
To ensure your Sanyhore Fully Automatic Hinge Assembler maintains consistent productivity and precision, understanding when and how to replace key components is essential. Regular part replacement not only prevents unexpected downtime but also preserves the machine’s performance over time. This guide breaks down the critical steps and considerations for replacing parts in your Sanyhore hinge assembly machine, tailored for operators and maintenance teams.
1. Common Wearable Components in Hinge Assemblers
Sanyhore’s automatic hinge assembler relies on several moving parts to function. Over time, these components may wear due to friction, material stress, or regular use. The most frequently replaced parts include:
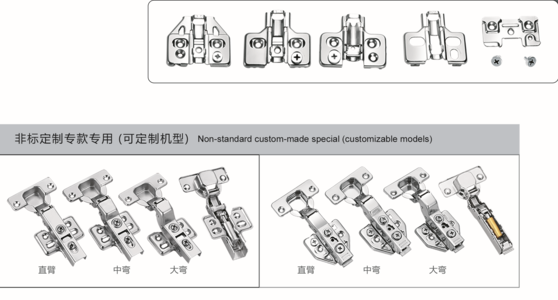
- Conveyor Belts: Subject to constant contact with hinge materials, belts can develop cracks or misalignment, affecting part transport accuracy.
- Positioning Pins: Critical for aligning hinges during assembly, pins may wear down, leading to misplacement and flawed products.
- Die Sets: The molds that shape hinge components often experience wear from repeated stamping, reducing dimensional precision.
- Sensor Probes: Optical or mechanical sensors that detect part presence can degrade, causing false alarms or missed detections.
- Lubrication Fittings: Over time, these may become clogged or damaged, reducing smooth movement of mechanical arms.
2. Safety Precautions Before Starting Replacement
Before beginning any part replacement, prioritize safety to avoid injury or equipment damage. Always:
- Power off the machine and lock the control panel with a padlock to prevent accidental startup.
- Wait for all moving parts to come to a complete stop, as residual momentum could cause harm.
- Inspect the work area for debris or oil spills, cleaning them up to prevent slips.
- Use appropriate personal protective equipment (PPE), such as gloves and safety glasses, especially when handling sharp or heavy components.
- Consult the machine’s user manual for model-specific safety notes, as different Sanyhore hinge assembler variants may have unique requirements.
3. Step-by-Step Replacement Process for Key Parts
Below is a general procedure for replacing common components. Adjust steps based on your machine’s model and the specific part being replaced:
- Conveyor Belt Replacement:
1. Loosen the retaining screws along the belt tracks using a hex key.
2. Remove the old belt, noting its orientation for correct installation.
3. Clean the belt tracks to remove dust or debris, ensuring smooth movement.
4. Align the new belt with the tracks, securing it with the retaining screws.
5. Test the belt by powering on the machine at low speed to check for proper tension and alignment.
- Positioning Pin Replacement:
1. Locate the pin housing (typically near the hinge feeding mechanism).
2. Unscrew the fixing bolts and gently extract the old pin.
3. Clean the housing and threads to remove any residue.
4. Insert the new positioning pin, ensuring it sits flush with the housing.
5. Tighten the bolts to the specified torque, avoiding over-tightening which could damage the pin or housing.
- Die Set Replacement:
1. Lower the machine’s arm to its lowest position and lock it in place.
2. Disconnect the die set from the hydraulic or mechanical clamping system.
3. Remove the old die set by undoing the clamping knobs or bolts.
4. Install the new die set, aligning it with the machine’s alignment marks.
5. Reconnect the clamping system and test with a sample hinge to verify proper shaping.
4. Post-Replacement Testing and Calibration
After replacing parts, thorough testing ensures the machine operates correctly. Perform:
- Functionality Check: Run a short production cycle with test hinges to confirm all components move as intended.
- Accuracy Verification: Measure the dimensions of assembled hinges against quality standards to ensure precision.
- Error Detection Test: Simulate part jams or sensor malfunctions to confirm the machine’s detection systems work.
- Lubrication Check: Apply a light coat of machine-grade lubricant to new components, following Sanyhore’s recommendations.
5. Proactive Maintenance to Minimize Replacement Needs
Reducing the frequency of part replacement starts with proactive care. Implement:
- Daily Inspections: Check for loose screws, belt wear, or oil leaks before each shift.
- Weekly Lubrication: Regularly lubricate moving parts (e.g., gears, bearings) to reduce friction.
- Monthly Cleaning: Remove dust and debris from conveyor tracks, sensor areas, and die sets.
- Quarterly Performance Review: Compare production output and quality to identify potential issues early.
Sanyhore’s Fully Automatic Hinge Assembler is designed for durability, but even the most robust machines require maintenance. By following this replacement guide and prioritizing regular care, you can maximize your machine’s lifespan and output. For inquiries about parts, maintenance services, or to discuss your specific hinge assembly needs, contact our sales team at +86 13425506550 or email info@sanyhore.com. Let Sanyhore support your production efficiency.