
.png)
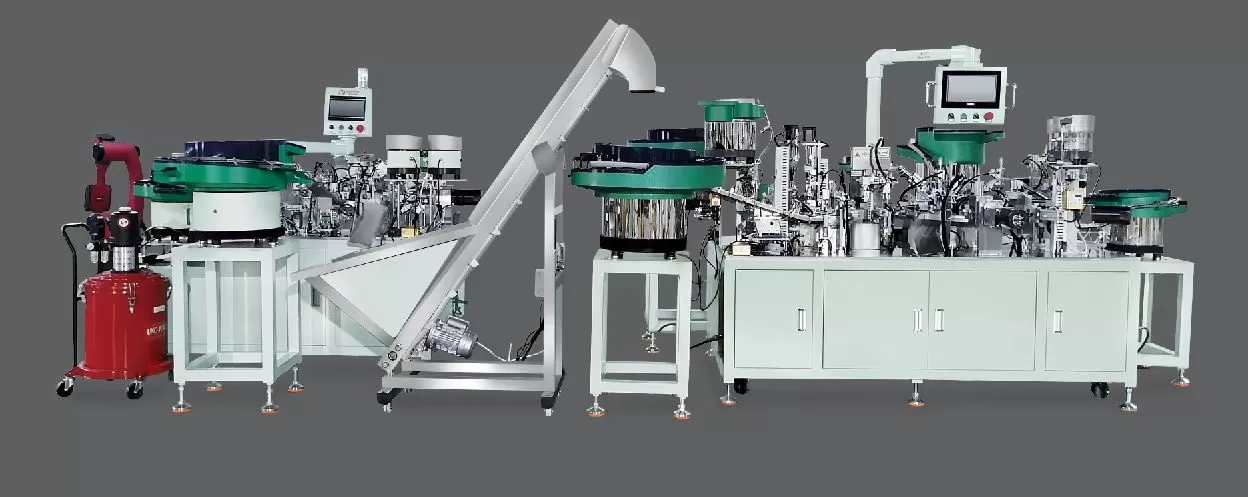
Calibrating a Sanyhore fully automatic hinge assembly machine is critical for maintaining consistent assembly precision, which directly impacts product quality and operational efficiency. As a leading manufacturer specializing in hinge assembly machines, telescopic drawer slide assembly machines, and roll forming machines, Sanyhore understands the importance of precise calibration. This guide outlines the essential steps to ensure your Sanyhore hinge assembly machine operates at peak accuracy, helping you avoid defects and extend equipment lifespan.
Pre-Calibration Preparation
Before starting the calibration process, prioritize safety and readiness. First, power off the machine and lock the control panel to prevent accidental activation. Gather necessary tools: a digital caliper (0.01mm precision), torque wrench, feeler gauges, a level, and a synchronization tester (if available). Inspect the machine for debris, loose components, or oil leaks—clean and lubricate moving parts as needed. Verify the calibration certificate of the reference tools (e.g., calipers) to ensure they are within their valid calibration period. This preparation phase minimizes errors and ensures reliable results.
Key Calibration Parameters to Check
Sanyhore’s hinge assembly machine relies on several critical parameters for precision. Focus on these during calibration:
- Positioning Accuracy: The horizontal/vertical deviation of hinge placement relative to the target position.
- Pressure Parameters: The force exerted by clamping or pressing units to avoid damaging hinge components or causing misalignment.
- Synchronization: Coordination between the machine’s conveyor, grippers, and assembly tools to prevent jams or delays.
- Sensor Sensitivity: The responsiveness of optical or mechanical sensors that detect hinge presence and orientation.
- Mechanical Clearance: The gap between moving parts (e.g., slides, gears) to ensure smooth motion without backlash.
Step-by-Step Calibration Process
#1. System Initialization and Reference Setting
Power on the machine and allow the control system to boot fully. Navigate to the calibration menu in the HMI (Human-Machine Interface) and select "Reference Point Calibration." Follow prompts to set the machine’s origin (e.g., the home position of the main assembly arm). Use a level to adjust the machine base if it shows signs of tilting, ensuring all components rest on a flat, stable surface.
#2. Positioning Accuracy Adjustment
Place a test hinge blank on the machine’s worktable. Use a digital caliper to measure the distance from the blank’s edge to the target assembly position. Compare this with the machine’s display value. If there’s a deviation (e.g., ±0.03mm), access the "Positioning Adjustment" submenu in the HMI. Input the correction value, then use the machine’s adjustment knobs (for X/Y/Z axes) to fine-tune the position. Repeat the measurement until the deviation is within the acceptable range (typically ±0.02mm for most hinge types).
#3. Pressure and Force Calibration
Select the "Pressure Calibration" function. The machine will simulate clamping or pressing actions. Use a force gauge to measure the actual pressure exerted by the tooling. Adjust the pressure settings in the HMI to match the recommended values (e.g., 8-12 bar for mild steel hinges, 5-8 bar for brass hinges). Test with a sample hinge—if it deforms or fails to seat properly, adjust the pressure incrementally (0.5 bar steps) until the force is optimal.
#4. Synchronization Verification
Run the machine in "Test Mode" and observe the movement of key components: the conveyor belt, gripper arms, and main assembly unit. Use a stroboscope to check if all parts move in sync. If the gripper closes 0.2 seconds before the conveyor stops, access the "Synchronization Settings" menu and adjust the delay parameter. Repeat the test until the time difference between component movements is less than 0.1 seconds.
#5. Sensor and Clearance Calibration
Place a hinge with a known thickness (e.g., 1.2mm) under the sensor. If the HMI fails to detect it, adjust the sensor’s sensitivity via the "Sensor Calibration" submenu. For mechanical clearance, check the gap between the slide and guide rail using feeler gauges. If the gap exceeds 0.1mm, tighten the guide rail screws or replace worn components to eliminate backlash.
Post-Calibration Validation
After adjusting all parameters, run a 100-unit production test. Measure 5-10 samples randomly, checking critical dimensions like hinge height, gap between leaves, and alignment error. A合格的 (qualified) product should have:
- Height deviation: ±0.05mm
- Gap between leaves: 0.1-0.3mm
- No misalignment or burrs.
Record the calibration results and set a reminder for the next calibration (typically every 3 months or 10,000 units, depending on usage).
Why Choose Sanyhore for Hinge Assembly Machines?
Sanyhore is a trusted manufacturer of fully automatic hinge assembly machines, telescopic drawer slide assembly machines, and roll forming machines. Our machines combine advanced engineering with user-friendly calibration features, ensuring long-term precision and minimal downtime. For professional support, contact our team today: +86 13425506550 or email info@sanyhore.com. Let us help you maximize the performance of your Sanyhore equipment.